

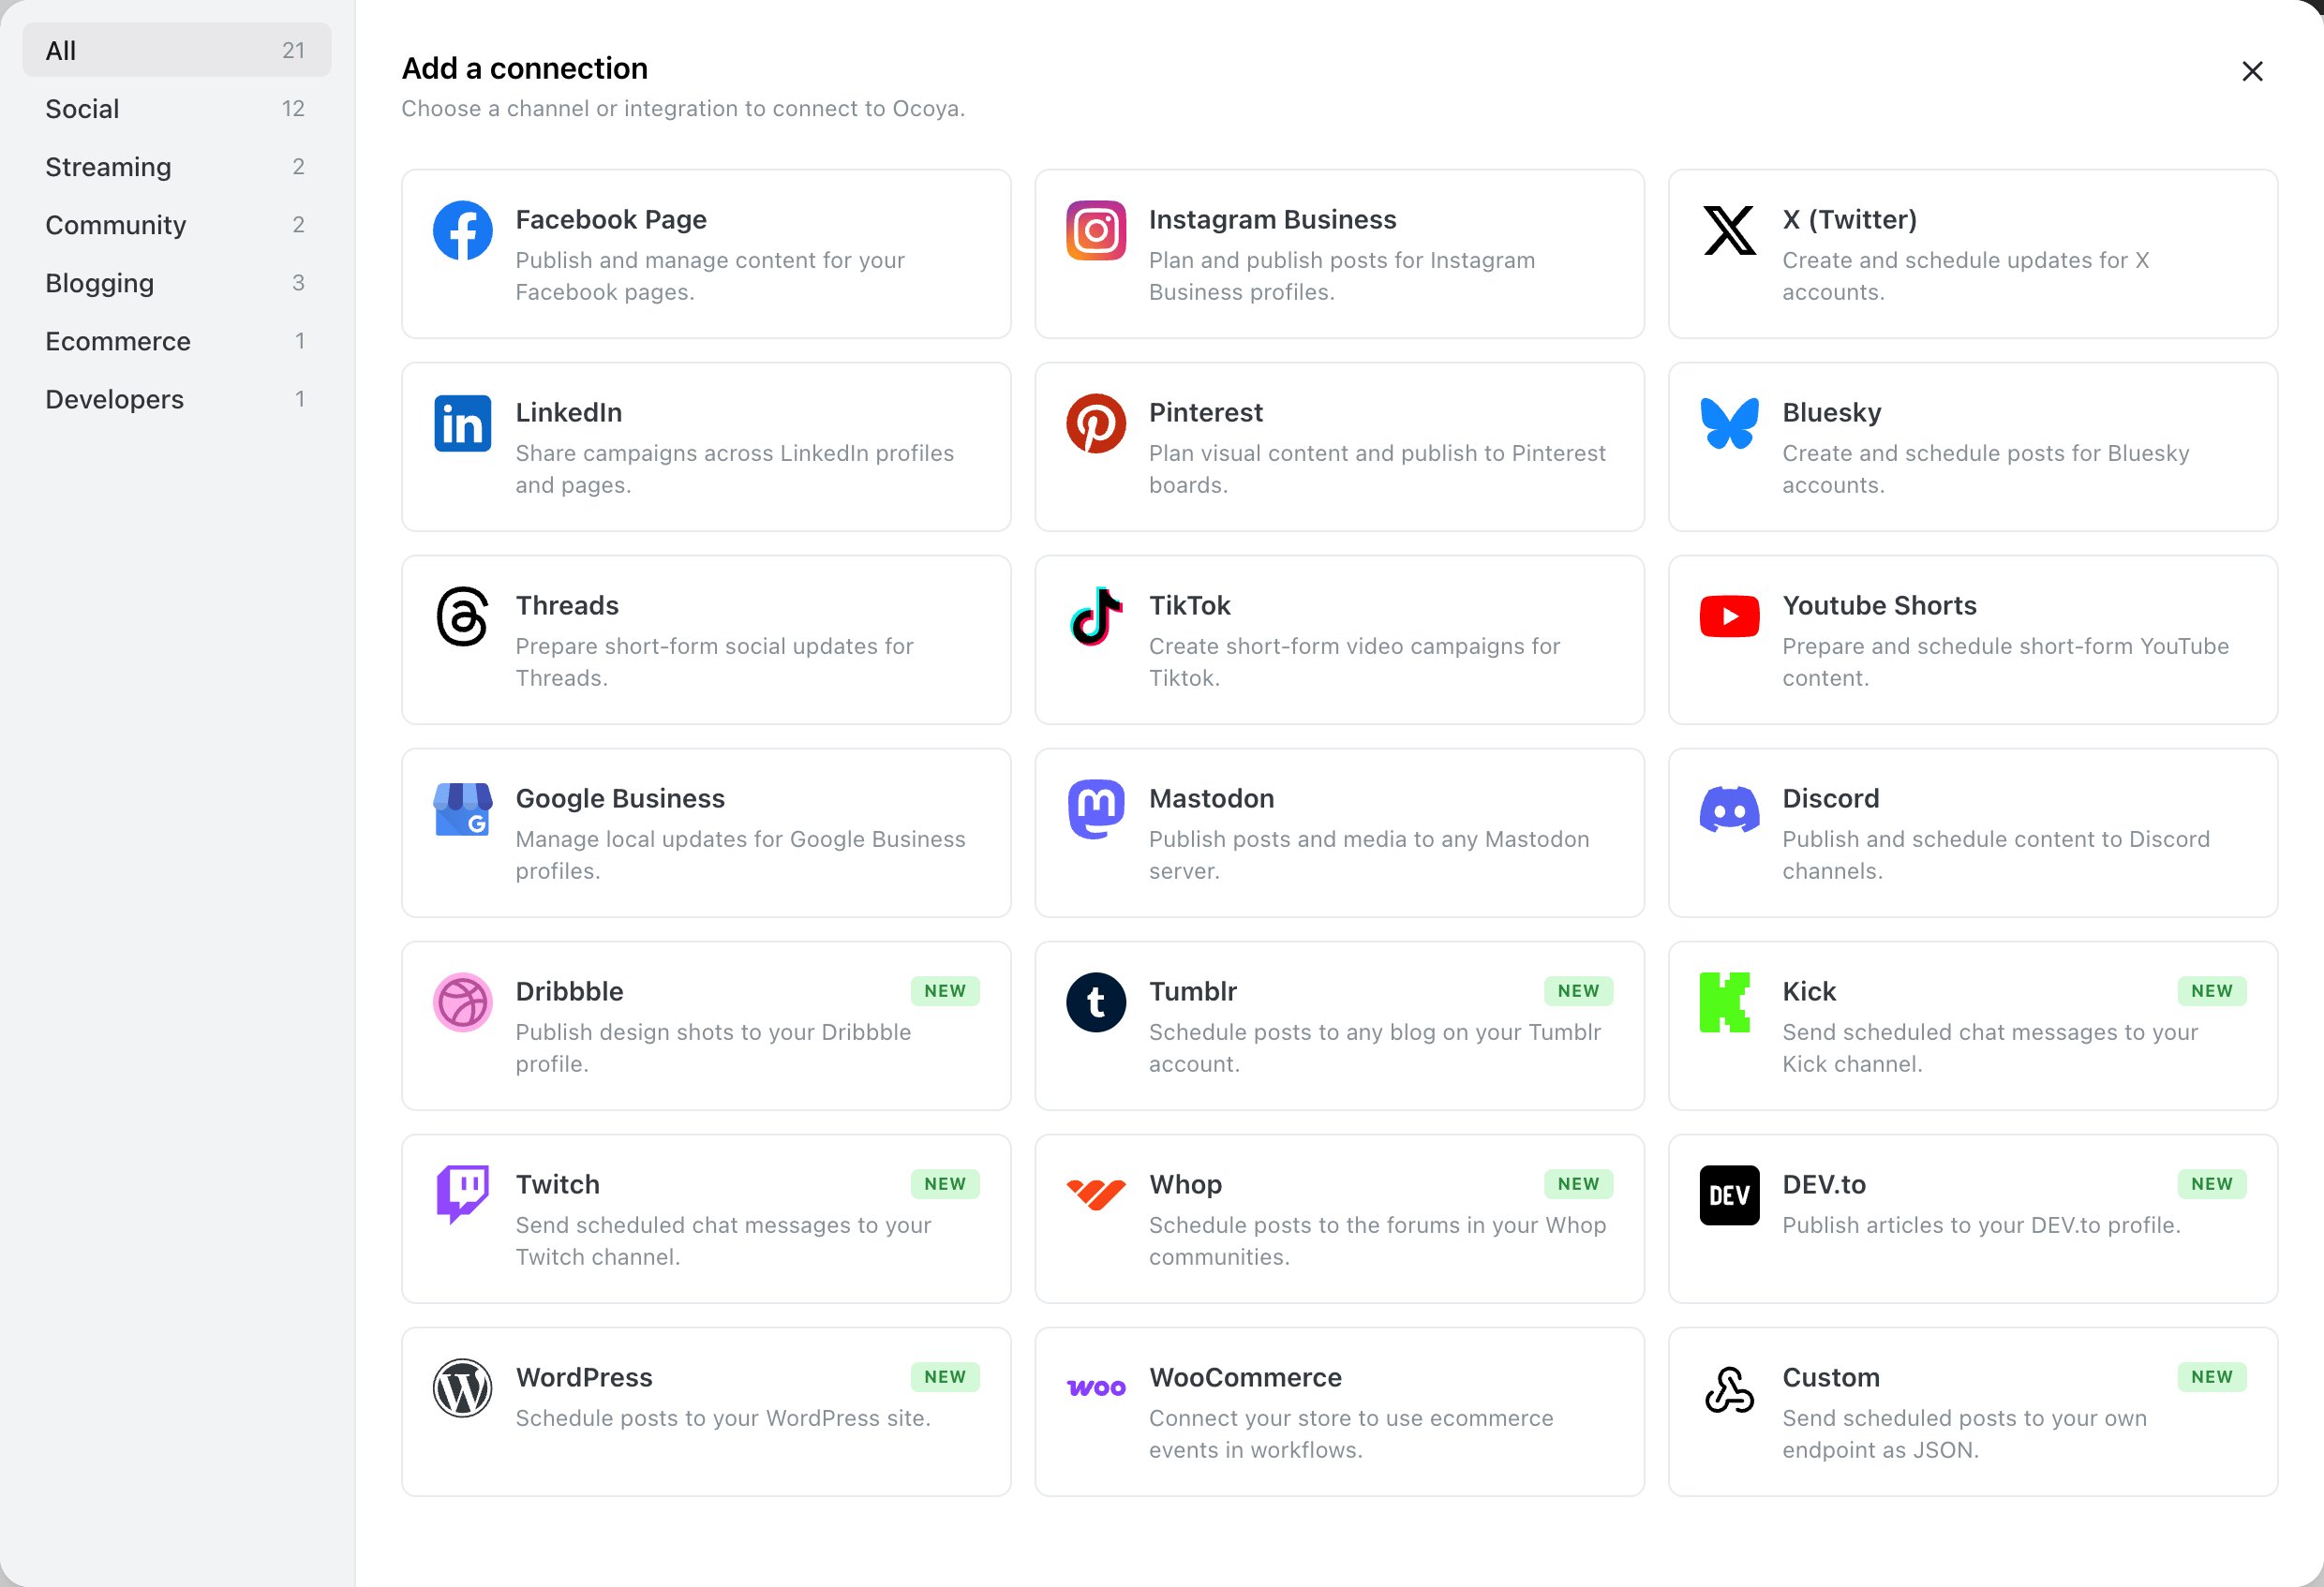
WooCommerce sits at the bottom of the Add a connection panel, under Ecommerce rather than with the social networks.
Before you start
You need admin access to the store. The connection is approved inside WooCommerce itself, and only an administrator sees that screen. The store must also be reachable over HTTPS. WooCommerce sends the credentials back to Ocoya over that connection and won’t complete the handshake without it.Connect it
1
Open Channels
Select Channels in the left sidebar, then Connect channel.
2
Choose WooCommerce
It’s listed under Ecommerce rather than with the social networks.
3
Enter your store URL
The address of the store itself —
https://yourstore.com, not the wp-admin path.4
Approve the connection in WooCommerce
Ocoya sends you to your own store’s approval screen. Sign in as an administrator if you aren’t already, and approve.
What Ocoya asks for
Approving it in WooCommerce creates an API key pair for Ocoya, which you can see and revoke in your store under WooCommerce → Settings → Advanced → REST API. Revoking it there cuts Ocoya off regardless of what Ocoya’s own settings say.Using it
A connected store does nothing on its own — it’s a trigger source for workflows. Create a workflow from the WooCommerce poster example to post when you publish a product. Two behaviours to know, both from the trigger itself:- It fires only the first time a product goes live. Editing a published product won’t trigger it again.
- Triggering can be delayed by up to 5 minutes.
Common problems
“The approval screen didn’t appear.” Check the store URL, and that you’re signed in to WordPress as an administrator. A URL with a typo, or one pointing at a staging site, fails here. “It connected but nothing triggers.” The workflow also has to exist and be set live. A connected store with no workflow does nothing. See A workflow didn’t run. “I revoked the key in WooCommerce.” Then Ocoya can no longer reach the store. Connect it again from Channels.Related
Create a workflow
The WooCommerce poster example.
A workflow didn't run
When a product went live and nothing posted.