

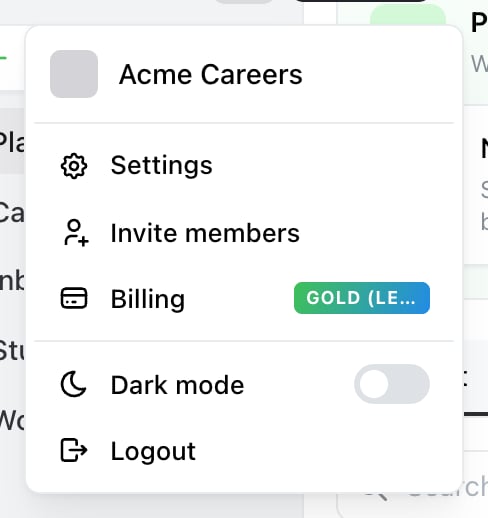
Start here. The account menu is the avatar at the top of the sidebar — Billing opens the screen below, with your plan on the badge.

Billing. Payment & invoices, on the current plan card, is the door to Stripe's portal — the tax ID itself is set there, not in Ocoya.
Add a tax ID
1
Open Billing
Open the account menu — the avatar at the top of the sidebar — and select Billing.
2
Select Payment & invoices
This opens Stripe’s billing portal.
3
Update your billing information
Under billing information, add your company name and address, then add the tax ID.
4
Choose the ID type
Stripe asks which kind — VAT, GST, ABN, EIN and many others. Pick the one for your country and enter the number in that country’s format.
It only affects future invoices
An invoice is fixed once issued, so a tax ID added today appears on your next invoice, not on past ones. If you’ve just subscribed and need the ID on your first invoice, add it before the renewal rather than after.Common problems
“My number was rejected.” Stripe validates the format per country and, for EU VAT, checks the number is real and active. Enter it with the country prefix (LT100004801314, not 100004801314) and confirm it’s active in the VIES checker.
“I still get charged VAT.” Whether VAT applies depends on your country and business status, not just on holding an ID. A valid ID in the right circumstances removes it from future invoices; it never changes an invoice already issued.
“I need a past invoice reissued with my ID.” Contact support with the invoice number.
Related
Payment and invoices
Downloading invoices and updating your card.
Plans and limits
What each plan costs.